
Plantronics Bluetooth Headset Manual: A Comprehensive Guide (Updated 04/21/2026)
Today’s date is 04/21/2026 07:19:05. This manual provides detailed instructions for various Plantronics Bluetooth headsets, including the Voyager 4310,
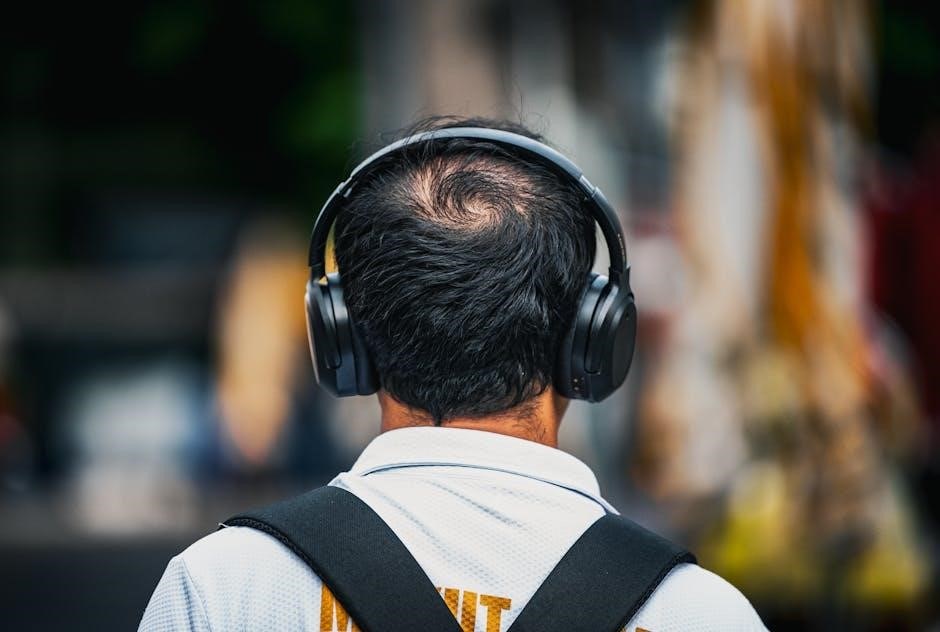
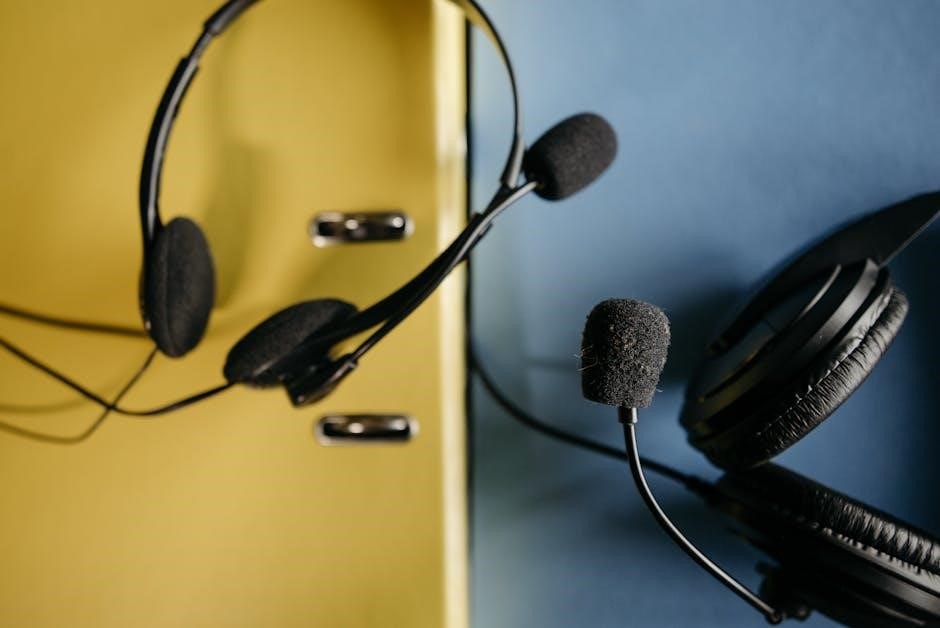
which offers versatile wearing options for both ears.
Welcome to the world of Plantronics Bluetooth headsets! These devices are engineered to deliver clear audio and seamless connectivity for calls, music, and virtual assistance. Plantronics, now known as Poly, has a long-standing reputation for innovation in audio technology, providing solutions for both professional and personal use.
This guide will walk you through the setup, usage, and troubleshooting of your Plantronics Bluetooth headset. Understanding the core features and functionalities will enhance your overall experience. Many models, like the Voyager 4310 UC, are designed with user comfort and flexibility in mind – notably, the ability to be worn comfortably on either the left or right ear.
Plantronics headsets utilize Bluetooth technology to connect wirelessly to your smartphone, computer, or other compatible devices. This eliminates the need for cumbersome cables, offering freedom of movement and convenience. Be aware of potential electromagnetic interference, as outlined in Plantronics user guides, which can sometimes affect Bluetooth performance. This manual aims to provide a comprehensive resource for maximizing your Plantronics headset’s potential.
Understanding Common Plantronics Models
Plantronics offers a diverse range of Bluetooth headsets tailored to different needs. The Voyager Series is renowned for its focus on call quality and all-day comfort, often featuring active noise cancellation and extended battery life. Models like the Voyager 4310 UC stand out with their adaptable design, allowing for comfortable wear on either ear.
The Blackwire Series typically caters to professionals requiring reliable audio for both calls and multimedia, often incorporating USB connectivity alongside Bluetooth. These headsets prioritize clear voice transmission and are ideal for office environments.
Finally, the Explorer Series generally provides more affordable and lightweight options, suitable for casual users and those prioritizing portability. Exploring the specific features of each series – detailed in their respective user manuals – will help you determine the best fit for your requirements. Remember to download the latest PDF manual for your specific model from the official Poly (Plantronics) website for detailed instructions and troubleshooting.
Voyager Series Overview
The Plantronics Voyager series represents a premium line of Bluetooth headsets designed for professionals prioritizing call clarity and comfort; These headsets consistently deliver exceptional audio performance, often incorporating advanced noise cancellation technology to minimize distractions in busy environments. A key feature of models like the Voyager 4310 UC is its versatile design, allowing users to comfortably wear it on either the left or right ear.
Voyager headsets typically boast extended battery life, ensuring all-day use without frequent charging. They often include intelligent features like automatic call answering and voice assistant integration. Accessing the official Plantronics Voyager 4310 Bluetooth Wireless Headset User Manual (available as a PDF download) provides comprehensive guidance on maximizing your headset’s capabilities, including pairing instructions and troubleshooting tips.
Blackwire Series Overview
The Plantronics Blackwire series focuses on providing reliable, professional-grade communication solutions, primarily for desk phone and softphone users. These headsets often combine both wired and wireless connectivity options, offering flexibility for various work environments; While known for their robust build quality and clear audio, Blackwire headsets generally prioritize a streamlined user experience over the extensive feature sets found in some Voyager models.
Users can find detailed instructions and troubleshooting information within the broader Plantronics Headset UserGuide, often available as a PDF download. This guide covers essential aspects like Bluetooth connectivity and potential issues related to Electromagnetic Interference. Though the Voyager series emphasizes ear-wearing flexibility, Blackwire models typically maintain a more standard headset design, focusing on consistent performance and durability for daily professional use.
Explorer Series Overview
The Plantronics Explorer series represents a more budget-friendly entry point into the world of Bluetooth headsets, designed for users prioritizing convenience and affordability. These headsets typically offer essential call control features and reliable wireless connectivity for everyday use. While they may not boast the advanced noise cancellation or multi-device pairing capabilities of higher-end models like the Voyager series, Explorers provide a solid communication experience for basic needs.
Information regarding setup and troubleshooting can be found within the comprehensive Plantronics Headset UserGuide, often available in PDF format. This resource details potential issues, including those related to Electromagnetic Interference, and provides solutions for common problems. The Explorer series, while simpler in design, still benefits from Plantronics’ commitment to audio quality and user-friendly operation, making them a practical choice for casual users.

Setting Up Your Plantronics Bluetooth Headset
This section details the initial setup process, covering pairing with both mobile devices (iOS and Android) and computers (Windows & macOS) for seamless connectivity.

Pairing with Mobile Devices (iOS & Android)
For iOS devices: Ensure your Plantronics headset is in pairing mode – typically by pressing and holding the power button until the indicator light flashes. Navigate to your iPhone or iPad’s Settings, then Bluetooth. Your headset should appear in the “Other Devices” list. Select it to initiate pairing. You may be prompted for a passcode; enter “0000” if required. Once connected, your headset will appear in the “My Devices” list.
For Android devices: Similarly, put your headset into pairing mode. Go to your Android phone or tablet’s Settings, then Connections or Bluetooth (the exact wording may vary by manufacturer). Scan for available devices. Locate your Plantronics headset in the list and tap to pair. Again, a passcode of “0000” might be requested. Successful pairing will move the headset to your paired devices list, indicating a stable connection. Remember to grant any necessary permissions for microphone access.
If pairing fails, try restarting both your headset and mobile device. Ensure no other devices are actively connected to the headset.
Pairing with Computers (Windows & macOS)
For Windows computers: First, place your Plantronics headset into pairing mode by holding the power button. On your Windows PC, navigate to Settings, then Devices, and select Bluetooth & other devices. Ensure Bluetooth is toggled on. Click “Add Bluetooth or other device” and choose Bluetooth. Your headset should appear in the list of available devices. Select it to begin pairing. You might be asked for a PIN; enter “0000” if prompted. Once paired, the headset will be listed as connected.
For macOS computers: Put your headset in pairing mode. On your Mac, go to System Preferences, then Bluetooth. Your headset should appear in the devices list. Click “Connect” next to your headset’s name. If a passcode is requested, enter “0000”. A successful connection will show the headset as connected in the Bluetooth preferences.
If issues arise, restart both your computer and headset. Verify Bluetooth is enabled and no other devices are interfering.
Multi-Device Connection
Many Plantronics Bluetooth headsets support connecting to multiple devices simultaneously, allowing seamless switching between your smartphone and computer. To enable this feature, initially pair the headset with one device as usual. Then, put the headset into pairing mode again while it’s already connected to the first device.
Next, initiate the pairing process on your second device. Once paired, the headset will remember both devices and attempt to connect to both when powered on. You can typically switch audio focus between devices by pausing audio on one and initiating it on the other.
Some models, like the Voyager series, offer a dedicated button or software control for managing connected devices. Refer to your specific model’s documentation for detailed instructions on managing multi-device connections and prioritizing audio sources.

Using Your Plantronics Bluetooth Headset
Plantronics headsets offer intuitive controls for calls, volume, and voice assistants. Familiarize yourself with button locations for optimal functionality and ease of use.
Answering and Ending Calls
Answering calls with your Plantronics Bluetooth headset is typically straightforward. Depending on the model, you can answer an incoming call by pressing a multi-function button, often located on the ear cup. A single press usually answers the call, while a longer press might redial the last number.
To end a call, again, utilize the multi-function button; A short press during an active call will typically disconnect the connection. Some models may also offer voice commands for answering or ending calls – check your specific headset’s documentation for details.
Certain Plantronics headsets support call transfer features, allowing you to seamlessly switch between your mobile device and computer. Understanding your headset’s specific button layout and functionality is crucial for efficient call management. Refer to the detailed user manual for precise instructions tailored to your Plantronics model.
Adjusting Volume
Controlling the volume on your Plantronics Bluetooth headset is usually accomplished through dedicated buttons. Most models feature volume up and volume down buttons, conveniently located on the ear cup for easy access during calls or audio playback. A quick press of these buttons will incrementally adjust the volume level.
Some Plantronics headsets also support voice commands for volume control. For example, you might be able to say “Volume Up” or “Volume Down” to adjust the audio level without physically interacting with the headset. However, voice command availability varies by model and requires proper setup.
It’s important to note that the maximum volume level can be limited by your connected device (smartphone, computer, etc.). Ensure your device’s volume is also appropriately adjusted for optimal audio clarity. Always prioritize safe listening levels to protect your hearing.
Activating Voice Assistant (Siri, Google Assistant)
Plantronics Bluetooth headsets often provide seamless integration with popular voice assistants like Siri and Google Assistant. Activation typically involves a dedicated button on the headset, often the multi-function button used for answering calls. A long press of this button usually triggers the voice assistant on your paired device.
Before using this feature, ensure your voice assistant is enabled on your smartphone or computer. You may also need to grant permission for the headset to access the voice assistant through your device’s settings. Once configured, simply press and hold the designated button to initiate a voice command.

You can then use voice commands to make calls, send messages, play music, get directions, and more, all hands-free. The specific commands supported will depend on the voice assistant you are using. Refer to your device’s documentation for a complete list of available commands.
Troubleshooting Common Issues
This section addresses frequent problems, such as pairing difficulties, audio disruptions, battery concerns, and microphone malfunctions, offering solutions for a smooth user experience.
Headset Won’t Pair
Experiencing difficulty connecting your Plantronics headset? Several factors could be at play. First, ensure your headset is in pairing mode – typically indicated by a flashing light. Consult your specific model’s quick start guide for the precise procedure.
Next, verify Bluetooth is enabled on your device (smartphone, computer, etc.). If it is, try toggling it off and then back on. Clear any previously paired devices from your device’s Bluetooth list, as a full list can sometimes cause conflicts.
Ensure the headset is sufficiently charged; low battery can interfere with pairing. Finally, move the headset closer to your device during the pairing process. If problems persist, a factory reset of the headset (refer to the manual) might resolve the issue. Electromagnetic interference can also disrupt pairing, so move away from potential sources.
Poor Audio Quality
Is the sound from your Plantronics headset muffled, distorted, or cutting out? Several troubleshooting steps can improve audio clarity. First, check the volume levels on both your headset and the connected device. Ensure they aren’t set too low or excessively high, as distortion can occur at either extreme.
Bluetooth interference is a common culprit. Move away from potential sources like microwaves, wireless routers, and other Bluetooth devices. Try repositioning yourself relative to your connected device; distance and obstructions can weaken the signal.
Ensure the headset’s earpiece is properly fitted for a secure seal. A loose fit can reduce bass response and overall clarity. Finally, check for and install any available firmware updates via the Plantronics Hub software, as these often include audio enhancements and bug fixes. Electromagnetic interference can also affect audio.
Battery Issues & Charging
Experiencing short battery life or charging problems with your Plantronics headset? First, verify you’re using the provided Plantronics charging cable and a compatible USB power source. Avoid using USB hubs or computer ports for optimal charging speed.
Allow sufficient charging time. A full charge typically takes several hours. Check the headset’s indicator light; it usually changes color to signify charging status and completion. If the headset isn’t charging at all, try a different USB cable and power adapter to rule out a faulty accessory.
Extreme temperatures can impact battery performance. Avoid charging or storing your headset in very hot or cold environments. Regularly fully discharging and then recharging the battery can help maintain its capacity over time. If issues persist, consult the Plantronics Hub software for battery health information.
Microphone Not Working
Is your Plantronics headset microphone failing to pick up your voice? Begin by ensuring the microphone isn’t muted – check for a dedicated mute button on the headset itself. Verify the headset is correctly selected as the default microphone in your computer’s or mobile device’s sound settings.
Check the microphone volume level. It might be set too low. Within your device’s sound settings, increase the microphone input volume. Ensure nothing is physically obstructing the microphone port, if applicable. Try testing the microphone with a different application to isolate the problem.
Software conflicts can sometimes interfere. Restarting your device can often resolve temporary software glitches. If the issue continues, consult the Plantronics Hub software for diagnostic tools and potential firmware updates that may address microphone functionality.
Advanced Features & Customization
Unlock the full potential of your Plantronics headset! Explore the Plantronics Hub software for firmware updates, personalized settings, and enhanced control options.
Plantronics Hub Software
The Plantronics Hub software is a central management tool designed to enhance your headset experience. It’s available for both Windows and macOS, offering a user-friendly interface for customizing settings and accessing advanced features. Through the Hub, you can easily update your headset’s firmware to ensure optimal performance and access the latest functionalities.
Key features include the ability to manage multiple Plantronics devices from a single application, adjust audio EQ settings to personalize your sound profile, and configure softphone integration for seamless call control. The software also provides insights into headset usage, battery status, and allows you to enable or disable various features.
Furthermore, Plantronics Hub facilitates easy access to support resources, FAQs, and troubleshooting guides. Downloading and installing the latest version of the Plantronics Hub software is highly recommended to unlock the full potential of your Bluetooth headset and maintain a consistently superior user experience.
Firmware Updates
Maintaining up-to-date firmware is crucial for optimal Plantronics Bluetooth headset performance. Firmware updates deliver essential bug fixes, enhance audio quality, and introduce new features, ensuring a consistently reliable user experience. The Plantronics Hub software, available for Windows and macOS, simplifies the update process significantly;
To check for updates, simply open the Plantronics Hub and connect your headset. The software will automatically scan for available firmware versions and prompt you to install them. It’s recommended to keep your headset connected to a power source during the update process to prevent interruptions.
Regular updates also improve compatibility with various devices and software applications. Ignoring firmware updates can lead to performance issues, reduced battery life, or even connectivity problems. Prioritizing firmware updates ensures your Plantronics headset operates at its peak efficiency and delivers the best possible audio experience.
Wearing Style (Left or Right Ear ― Voyager 4310)
The Poly Voyager 4310 UC headset offers exceptional flexibility in wearing style, designed to comfortably fit either the left or right ear. This adaptability caters to individual preferences and ensures prolonged comfort during extended use. Unlike many headsets with a fixed orientation, the Voyager 4310 allows users to customize their fit.
To switch ears, simply rotate the earpiece. The ergonomic design accommodates both ears without compromising audio quality or microphone performance. This feature is particularly beneficial for users who prefer to keep one ear open for situational awareness or alternate ears throughout the day to reduce fatigue.
Experimenting with both left and right ear configurations will help you discover the most comfortable and secure fit for your unique ear shape. The Voyager 4310’s versatile design prioritizes user comfort and personalization.