Amana Washing Machine Manual: Comprehensive Guide (Updated 04/14/2026)
Welcome! This comprehensive manual, updated today – 04/14/2026 at 01:32:45, will expertly guide you through your Amana washer’s features and optimal performance.
Amana has a long-standing reputation for building dependable appliances, and your new washing machine is no exception. This machine is engineered to deliver powerful cleaning performance with a focus on simplicity and reliability. We understand that a washing machine is a significant investment, and this manual is designed to help you maximize its lifespan and efficiency.
Within these pages, you’ll discover detailed instructions on everything from initial setup and operation to troubleshooting and maintenance. We’ve included clear diagrams and step-by-step guides to ensure a smooth and hassle-free experience. Familiarizing yourself with this manual will empower you to confidently use all the features your Amana washer offers, ultimately saving you time, energy, and potentially costly repairs. Welcome to the Amana family!
Understanding Your Model Number
Your Amana washing machine’s model number is crucial for accessing specific information about your appliance, including warranty details, parts diagrams, and specialized support; This unique identifier allows us to pinpoint the exact specifications of your machine, ensuring you receive the most accurate assistance possible.
The model number is typically located on a label affixed to the appliance. Commonly, you’ll find it inside the lid, on the back panel, or along the frame. It’s a combination of letters and numbers – carefully record this information for future reference. When contacting customer support or ordering replacement parts, always have your model number readily available. It streamlines the process and guarantees compatibility. Knowing your model number unlocks a world of resources!
Safety Precautions & Warnings
Prioritize safety! Before operating your Amana washing machine, carefully review these essential precautions. Disconnect the power supply before any maintenance or cleaning. Never attempt repairs yourself; contact a qualified technician. Keep children and pets away from the washer during operation – the drum and water can pose hazards.
Avoid washing flammable materials. Do not overload the machine, as this can cause damage or instability. Ensure proper grounding to prevent electrical shock. Regularly inspect hoses for cracks or leaks. Never open the lid while the washer is spinning. If you detect unusual noises or smells, immediately stop the machine and unplug it. Following these guidelines ensures safe and reliable operation of your Amana washer.
Installation & Setup
Proper installation is key! This section details unpacking, connecting water lines, and ensuring correct electrical grounding for your new Amana washing machine.
Unpacking and Initial Inspection
Carefully unpack your new Amana washing machine, ensuring you have ample space to maneuver. Begin by removing all external packaging materials, including cardboard, plastic wrap, and any shipping tape. Inspect the washer thoroughly for any visible signs of damage incurred during transit. Look closely at the cabinet, control panel, door, and water inlet connections.
Document any damage immediately with photographs and contact your retailer or Amana customer support. Retain all packaging materials until you are completely satisfied with the condition of your appliance. Check for all included accessories, such as the drain hose, water supply hoses, and any provided documentation. Remove the shipping bolts – these are crucial for transport and must be removed before operation to prevent damage. Refer to the separate shipping bolt removal guide if needed. Finally, ensure the washer is placed on a level surface.
Connecting Water Supply Lines
Before connecting the water supply lines, ensure both the hot and cold water faucets are completely turned off. Identify the hot and cold water inlets on the back of your Amana washer – they are typically color-coded (red for hot, blue for cold). Attach the provided water supply hoses to the corresponding inlets, hand-tightening initially, then using pliers to tighten another half-turn.
Avoid over-tightening, as this can damage the connections. Connect the other ends of the hoses to the respective hot and cold water faucets. Slowly turn on both water faucets and check for leaks at all connections. If leaks are present, tighten the connections further. Ensure the hoses are not kinked or bent, as this can restrict water flow. Regularly inspect the hoses for cracks or bulges and replace them as needed.
Electrical Requirements & Grounding
Your Amana washing machine requires a dedicated 120-volt, 60Hz electrical supply. Do not use an extension cord or adapter plug; connect the washer directly to a properly grounded outlet. Improper grounding poses a significant electrical shock hazard. The power cord must have a grounding wire with a grounding plug.
If you are unsure about your home’s electrical system, consult a qualified electrician. Never attempt to repair the power cord yourself. The electrical outlet should be located within reach of the washing machine’s power cord length. Ensure the outlet is not overloaded with other appliances. Regularly check the power cord for damage and replace it if necessary. Always disconnect the power before performing any maintenance.
Operating Your Amana Washer
Effectively utilize your Amana washer by understanding its intuitive control panel, selecting appropriate wash cycles, and optimizing load sizes for superior cleaning results.
Control Panel Overview & Functions
The Amana washer’s control panel is designed for user-friendly operation. A central dial allows for cycle selection – Normal, Delicates, Heavy Duty, Quick Wash, and more – each tailored for specific fabric types and soil levels. Digital displays clearly indicate cycle progress, remaining time, and selected options.
Push-button controls enable customization of wash parameters. Adjust water temperature (Hot, Warm, Cold) to suit your laundry needs. Modify spin speed to minimize wrinkles or maximize water extraction. Options like ‘Delay Start’ provide scheduling convenience. Dedicated buttons facilitate the addition of extra rinses or pre-soak cycles.
Indicator lights alert you to important machine status – cycle completion, error codes, and water supply issues. Familiarizing yourself with these functions ensures optimal performance and efficient laundry care with your Amana washing machine.
Selecting Wash Cycles
Amana washers offer a variety of cycles to accommodate diverse laundry needs. The Normal cycle is ideal for everyday cottons and linens, providing a balanced wash and rinse. For delicate fabrics like lingerie and silk, the Delicates cycle uses gentle agitation and slower spin speeds. Heavy Duty tackles heavily soiled items like work clothes and towels with increased wash time and robust agitation.
Quick Wash efficiently cleans lightly soiled items in a shorter timeframe. A Bulky Items cycle accommodates larger loads like comforters and blankets. Specialized cycles, such as Whites and Colors, optimize cleaning and color preservation. Always consult garment care labels to determine the most appropriate cycle for each load, ensuring optimal cleaning and fabric protection.
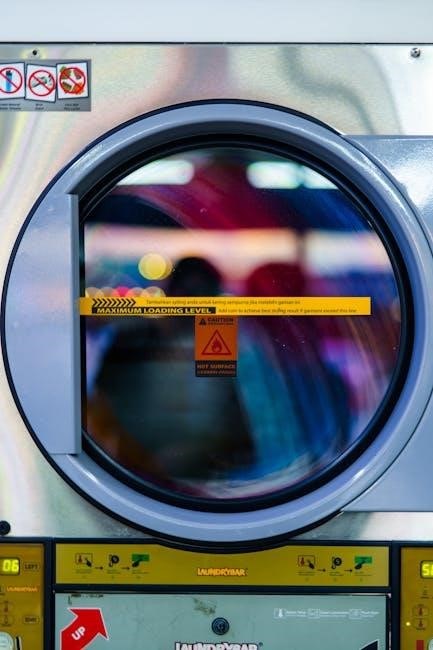
Load Size & Detergent Usage
Optimizing load size is crucial for effective cleaning and preventing damage to your Amana washer. Avoid overloading, as this restricts garment movement and hinders detergent distribution. Generally, fill the drum approximately three-quarters full for optimal results. For smaller loads, reduce detergent accordingly to prevent residue buildup.
Detergent usage depends on load size and soil level. Refer to the detergent manufacturer’s recommendations for specific dosage guidelines. HE (High Efficiency) detergent is required for Amana washers to prevent excessive sudsing. Always use the designated detergent dispenser; never pour detergent directly onto clothes. Overusing detergent doesn’t equate to cleaner clothes and can lead to operational issues.
Adding Fabric Softener & Bleach
Properly dispensing additives enhances your laundry results with your Amana washer. Fabric softener, added during the final rinse cycle, leaves clothes feeling softer and reduces static cling. Always dilute concentrated fabric softener with water before pouring it into the designated dispenser – avoid direct contact with garments.
Bleach should be used cautiously and only when necessary for whitening or disinfecting. Liquid chlorine bleach goes into the specifically marked bleach dispenser; never pour bleach directly onto clothes, as this can cause discoloration and damage. Color-safe bleach can be used for colored fabrics, following the manufacturer’s instructions. Ensure the dispenser is clean after each use to prevent clogging.
Troubleshooting Common Issues
Encountering problems? This section provides solutions for typical Amana washer issues, helping you quickly diagnose and resolve common malfunctions for seamless laundry.
Washer Won’t Start
Problem: Your Amana washing machine fails to initiate a wash cycle, leaving you with a pile of laundry and frustration. Several factors could contribute to this issue, requiring a systematic approach to diagnosis.
Possible Causes & Solutions: First, verify the power supply. Ensure the washer is securely plugged into a functioning electrical outlet. Check your home’s circuit breaker or fuse box to confirm the circuit hasn’t tripped or blown. Next, examine the lid switch; Amana washers won’t operate with the lid open. Confirm it’s engaging correctly.
Further Checks: If the power and lid switch are functioning, inspect the control panel for any error codes displayed. Consult the full manual for code definitions. Finally, a malfunctioning motor or control board could be the culprit, potentially requiring professional repair service. Always disconnect power before inspecting internal components.
Washer Won’t Drain
Problem: Water remains pooled inside your Amana washing machine after a wash cycle, preventing you from removing clean laundry. This issue demands prompt attention to avoid mold and mildew growth.
Possible Causes & Solutions: Begin by checking the drain hose. Ensure it isn’t kinked, clogged, or improperly positioned – it should not be inserted too far into the drainpipe. Next, inspect the drain pump filter. This filter traps lint and debris; a clogged filter restricts water flow. Locate and clean it carefully.
Further Checks: If the hose and filter are clear, a faulty drain pump might be the cause, requiring professional assessment. A blocked drainpipe in your home’s plumbing could also be the issue. Finally, some models have a drain hose height specification; verify correct installation.
Washer is Noisy During Operation
Problem: Excessive or unusual noises emanating from your Amana washing machine during cycles can be concerning and indicate a potential mechanical issue. Identifying the type of noise is crucial for diagnosis.
Possible Causes & Solutions: A thumping sound often suggests an unbalanced load. Pause the cycle and redistribute items evenly within the drum. Clicking noises could indicate objects (coins, buttons) lodged between the inner and outer tubs. Inspect the drum carefully.
Further Checks: Grinding sounds may point to worn-out bearings, requiring professional repair. A whining noise could signal a problem with the motor or pump. Ensure the washer is level; an uneven base amplifies vibrations. Regularly check for and remove any foreign objects.
Leaking Water – Identifying the Source
Problem: Discovering water leakage from your Amana washing machine demands immediate attention to prevent water damage and potential electrical hazards; Pinpointing the leak’s origin is the first step towards resolution.
Possible Sources & Checks: Inspect the water supply hoses connected to the back of the machine for cracks or loose connections. Examine the drain hose for proper seating and any signs of damage. Check the door seal (front-load models) for tears or debris preventing a tight closure.
Further Investigation: Look for leaks around the detergent dispenser, indicating a blockage or faulty seal. Internal leaks may require a professional technician to diagnose issues with the pump, tub, or internal hoses. Always disconnect power before investigating!
Maintenance & Cleaning
Regular upkeep ensures your Amana washer’s longevity and peak performance; consistent cleaning prevents odors, mold, and maintains optimal washing efficiency for years.
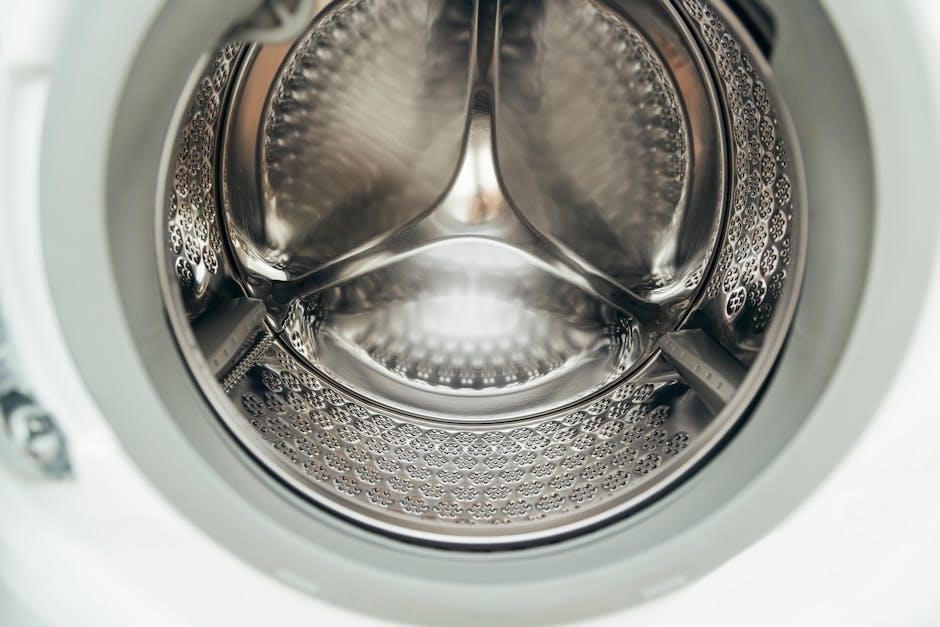
Cleaning the Washer Drum
Maintaining a fresh drum is crucial for clean laundry and preventing unwanted odors. Amana recommends cleaning the washer drum monthly, or more frequently with heavy use. Begin by ensuring the washer is empty. Utilize a washing machine cleaner specifically designed for front-load or top-load machines, following the product’s instructions carefully.
Alternatively, a solution of hot water and white vinegar (approximately two cups) can be used. Run a complete wash cycle on the hottest water setting, selecting the longest cycle available. After the cycle completes, leave the washer door or lid ajar to allow for thorough drying and ventilation. This prevents mildew and bacterial growth. Wipe down the drum’s interior with a clean, dry cloth to remove any remaining residue.
Cleaning the Detergent Dispenser
Regular cleaning of the detergent dispenser is vital to prevent buildup and ensure optimal detergent distribution. Amana recommends cleaning it monthly. First, locate the dispenser drawer – typically found on the top or front of the machine. Most dispensers are removable; consult your model’s specific instructions for removal procedures.
Once removed, rinse the dispenser thoroughly under warm running water, using a soft brush to dislodge any hardened detergent or fabric softener residue. Pay close attention to the compartments and any small nozzles. For stubborn buildup, soak the dispenser in a solution of warm water and white vinegar for approximately 30 minutes before rinsing. Ensure the dispenser is completely dry before reinserting it into the washing machine.
Cleaning the Lint Filter
Maintaining a clean lint filter is crucial for efficient washer operation and preventing drainage issues. Amana washers typically feature a lint filter located in one of several places – inside the drum, behind an access panel, or within the drain pump. Refer to your specific model’s diagram to locate it.
After each load, or at least monthly, remove the lint filter. It often simply pulls out or requires releasing a small latch. Remove accumulated lint by hand, or use a soft brush. Rinse the filter thoroughly under running water to remove any remaining debris. Ensure the filter is completely dry before reinstalling it to prevent mold or mildew growth. A clogged lint filter reduces washing efficiency and can cause longer cycle times.
Preventative Maintenance Schedule
Regular maintenance extends the life of your Amana washing machine and ensures optimal performance. We recommend a monthly inspection of all hoses for cracks or leaks, tightening connections as needed. Every three months, run an empty hot water cycle with a washing machine cleaner to remove buildup and odors.
Annually, inspect the drain pump for obstructions and clean the detergent dispenser thoroughly. Check the drive belt (if applicable) for wear and tear. Consider professional servicing every two years for a comprehensive check-up, including motor and pump inspection. Following this schedule minimizes repairs and keeps your Amana washer running smoothly for years to come.

Advanced Features & Settings
Explore enhanced options! Discover the power of features like Delay Start, customizable Spin Speed, and precise Temperature Control for optimal cleaning results.
Delay Start Function
Convenient Scheduling: The Delay Start function allows you to conveniently schedule your wash cycle to begin at a later time, fitting seamlessly into your busy lifestyle. This feature is incredibly useful for taking advantage of off-peak energy rates, potentially saving you money on your electricity bill. To activate, simply press the “Delay Start” button and select the desired delay time, typically in hours.
The control panel will display the estimated start time of your cycle. Remember to add detergent and fabric softener before setting the delay, as the dispenser will automatically release them at the programmed start time. Ensure the washer lid is closed to initiate the delay. You can typically cancel the delay by pressing the “Delay Start” button again or by powering off the machine. Always double-check the selected delay time to avoid unexpected wash cycles!
Spin Speed Options
Customized Water Extraction: Your Amana washing machine offers a range of spin speed options, allowing you to tailor the cycle to different fabric types and desired dryness levels. Lower spin speeds are gentler on delicate items like lingerie and sweaters, minimizing wrinkles and preventing damage. Higher spin speeds effectively remove more water from heavier fabrics like towels and jeans, reducing drying time.
Typically, options include “Low,” “Medium,” “High,” and sometimes a “No Spin” setting. Consult the garment care label for recommendations. Selecting a higher spin speed will result in more wrinkles, while a lower speed may leave clothes wetter. Experiment to find the optimal balance for your laundry needs. Remember, excessively high spin speeds can strain delicate fabrics.
Temperature Control Settings
Optimizing Fabric Care: Your Amana washer provides precise temperature control, crucial for effective cleaning and preserving garment integrity. Options generally include “Cold,” “Warm,” and “Hot” settings. Cold water is ideal for delicate fabrics, bright colors, and preventing fading. Warm water offers a balance between cleaning power and fabric protection, suitable for everyday loads.
Hot water is best for heavily soiled items, whites, and sanitizing laundry, but can cause shrinkage or color bleeding. Always check garment care labels for specific temperature recommendations. Utilizing the correct temperature enhances detergent effectiveness and minimizes energy consumption. Incorrect temperatures can damage fabrics or fail to remove stains effectively.